The Chicken Parmigiana Photo Playbook: Make That Parmi Pop On Camera

Brady Stroud
—27 October 2025
Why Photograph a Parmi at All?
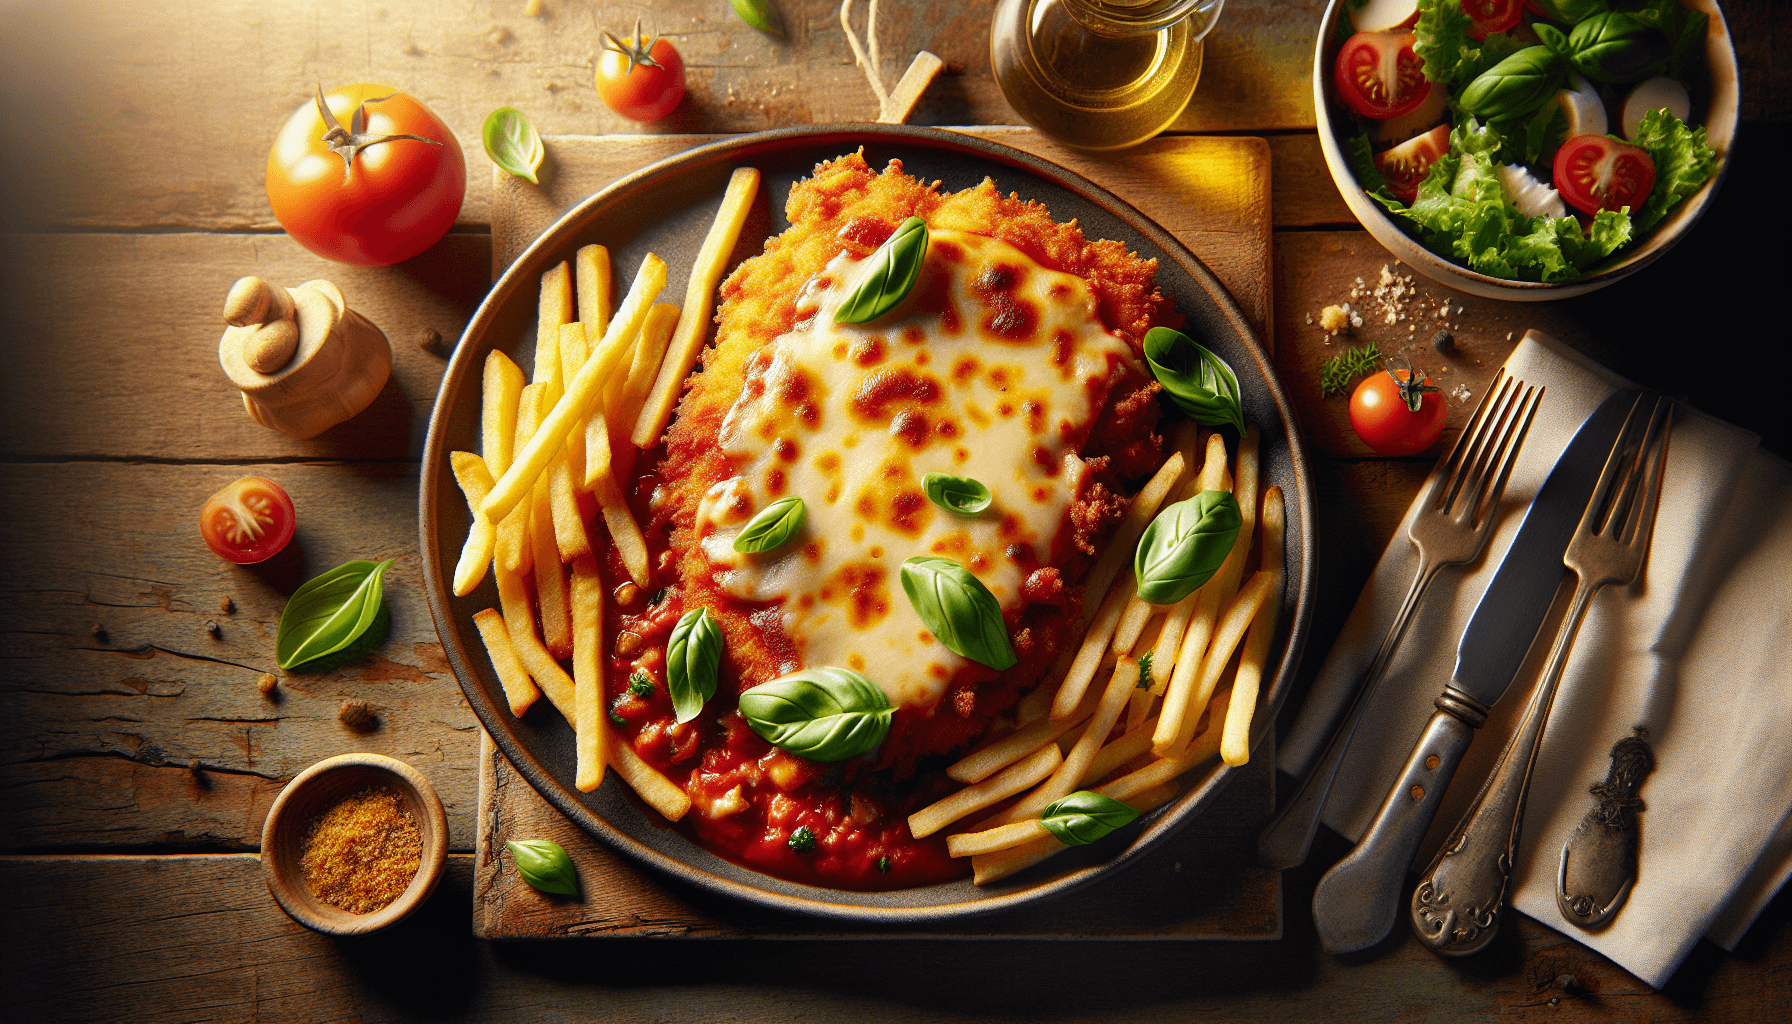
A great chicken parmigiana is a mini drama of textures: shattering crumb, molten cheese, glossy sauce, and those chips standing guard. Capturing that personality on camera isn’t just for influencers—it’s a way to share a moment, remember a standout pub night, and do justice to a dish that deserves a spotlight. Here’s how to photograph a parmi so it looks as irresistible as it tastes—without studio gear or food-stylist tricks.
Light: The Crunch Maker
- Sit near a window for soft side light that sculpts crumb texture. Overhead lighting flattens everything; if that’s all you have, shift the plate closer to the edge of the table and angle the phone slightly to side-light the surface.
- Diffuse harsh light with a napkin or menu held between window and plate. It calms shiny sauce hotspots and reveals more detail in the cheese.
- Kill mixed light. If you’re by a window, switch off your phone’s flash and avoid sitting under heat lamps if possible. Mixed color temperatures cause weird orange or green casts that are tough to fix.
Angles That Flatter the Parmi
- 45 degrees: The hero angle. Shows height, crumb texture, chip pile, and a generous sweep of sauce.
- Straight-on: Perfect for a tight crop of the cheese, ham, and sauce layers. Ideal for a dramatic cheese pull (more on that next).
- Overhead: Great for plate styling and chip geometry, but use sparingly—the schnitty can look flattened from above. If you go top-down, elevate visual interest with diagonally placed cutlery and a folded napkin.
The Cheese Pull, Deconstructed
- Pre-cut a clean wedge before you shoot, so the pull has an anchor. Let the cheese rest 20–30 seconds after serving to get that elastic stretch without a lava spill.
- Two-fork technique: One fork lifts, the other stabilizes the body of the parmi. Ask a mate to hold the lift while you shoot burst mode.
- Frame tight and shoot slightly backlit so the cheese filaments glow. Keep shutter quick by tapping to focus on the pull and sliding exposure a notch brighter.
Taming Shine and Sauce
- Blot lightly with a corner of napkin to remove excess oil puddles without disturbing the crumb.
- If the sauce looks flat, spoon a micro “ripple” along the edge to catch light. Shiny, not greasy, is the goal.
- Watch reds. Tomato sauce can clip and look neon. Underexpose a touch and lift shadows later when editing.
Plateware and Props (Use What’s on the Table)
- Matte beats glossy. If you can choose, go for matte plates or wooden boards that keep glare at bay and make the crumb stand out.
- Add context with neutral props: the water glass, a beer coaster, a folded napkin. Keep patterns minimal—your parmi is the star.
- Warm tones complement the dish. A wooden table or parchment paper under the parmi reads hearty and welcoming.
Steam and Heat, Without the Haze
- Shoot while it’s hot for natural gloss and gentle steam. If your lens fogs, step back, wipe the lens with a clean cloth, and give the plate 10 seconds to settle.
- For subtle steam in-frame, place a hot chip just behind the cut line; it can produce a delicate wispy effect without fogging the lens.
Composition That Tells a Story
- Lead the eye from chips to parmi to sauce using diagonals—angle your cutlery and napkin to point toward the main subject.
- Embrace negative space on the plate to avoid clutter. A clean corner makes the crumb pop.
- Include a bite scene: a forkful hovering over the plate or a chip dipping into runaway sauce adds movement and appetite appeal.
Make It Human
- Hands in frame add warmth and scale. A friend sprinkling herbs, lifting that cheese pull, or clinking a glass tells the viewer, “You’re invited.”
- Keep gestures purposeful and minimal—one action per shot so the parmi isn’t upstaged.
Phone-First Editing (Fast and Honest)
- White balance: In Snapseed or Lightroom Mobile, use the plate as a neutral to correct orange heat-lamp tints.
- Exposure and contrast: Lift shadows slightly to reveal crumb; keep highlights in check so cheese stays detailed, not blown out.
- Color control: Nudge reds toward a touch less saturation; boost yellows’ luminance very slightly to make the cheese look melty without going neon.
- Texture/clarity: A small boost to texture on the crumb area only (use selective edits) keeps faces and background smooth.
- Crop for intent: Square for social feeds, 4:5 for maximum screen real estate, or a cinematic 16:9 for that wide pub-table story.
Common Pitfalls and Quick Fixes
- Heat-lamp orange cast: Move the plate 30 cm away from the lamp, shoot toward window light, and fix white balance in post.
- Flat, lifeless crumb: Change the light direction—side light reveals texture. A tiny tilt of the plate can change everything.
- Glare on cheese: Diffuse with a napkin, or angle the camera so reflections bounce away from the lens.
- Messy plate edges: Quick wipe with a corner of serviette before shooting—small cleanup, big upgrade.
- Shaky hands in low light: Brace elbows on the table, use burst mode, and pick the sharpest frame.
Respect the Dish (and Your Mates)
- Shoot fast so the parmi stays hot. Plan your frame while it’s being served, take a handful of decisive shots, then dive in.
- Don’t block the table, don’t rearrange beyond what you can put back—and always give the chips their stage time, too.
Conclusion
Photographing a chicken parmigiana is about honoring its textures and telling a quick, delicious story with light, angle, and intent. You don’t need fancy gear—just a window, a steady hand, and a plan for that star moment when cheese stretches and crumb sparkles.
Your Turn
What’s your go-to parmi angle or editing trick? Have a legendary cheese pull or a pub that plates like a pro? Share your tips, favorite shots, and must-shoot spots in the comments—we’ll feature the best ideas in a future roundup.